Review of Your Submission is Complete
The title of this post is the current euphemism Apple uses to avoid saying your app is “approved.” It’s sort of anticlimactic after all the work that goes into shipping a version 1.0 of an application. What it means is you can post it to the App Store for sale.
In no way does it mean you are done. The app has met some vague minimum criteria to be in the store but there is much more to do. Marketing materials are needed, bug fixes will surely be required and there is a long roadmap of things on the way to version 1.0.1, 1.2 and hopefully 2.0.
Still this is a milestone and something to be proud of. I am always a bit of a pessimist and suffer from terminal imposter syndrome but I think this is a good app. A solid native Mac app. I know there will be some who balk at any paid app or will single out their pet feature and complain it’s not included. For now, I’m not going to worry about any of that.
The app was only approved (yes I’m using that term, sorry Apple) last night so perhaps it’s early for a true post mortem but I want to collect my thoughts while they are fresh. I haven’t even released it for sale yet but will do so in the next few days.
Cartographer took seven months off and on development. As an indie developer I need to take time to try to earn a living so there were breaks of a few days or weeks to do some consulting work but the work on Cartographer was pretty steady. I like to think I took my time to work out how I really wanted to do things. For example, the UI was overhauled at a late point where I could have just stuck with what I had and shipped. It wasn’t working well so I refactored it.
I also wrote every line of code. There are no dependencies. I hate dependencies. I don’t like relying on others code that may break or become unsupported in the future. For the same reasons I don’t use AI, agents or any of that nonsense either.
For good or bad I designed, wrote, refactored and will ship every line of code. Many of those lines were written a few times. As a kid I always wanted to create the sorts of programs I used. Now I do and I’m going to enjoy my craft by doing the actual crafting myself.
Of course there is the one big dependency on Apples frameworks.
Swift, SwiftUI and SwiftData
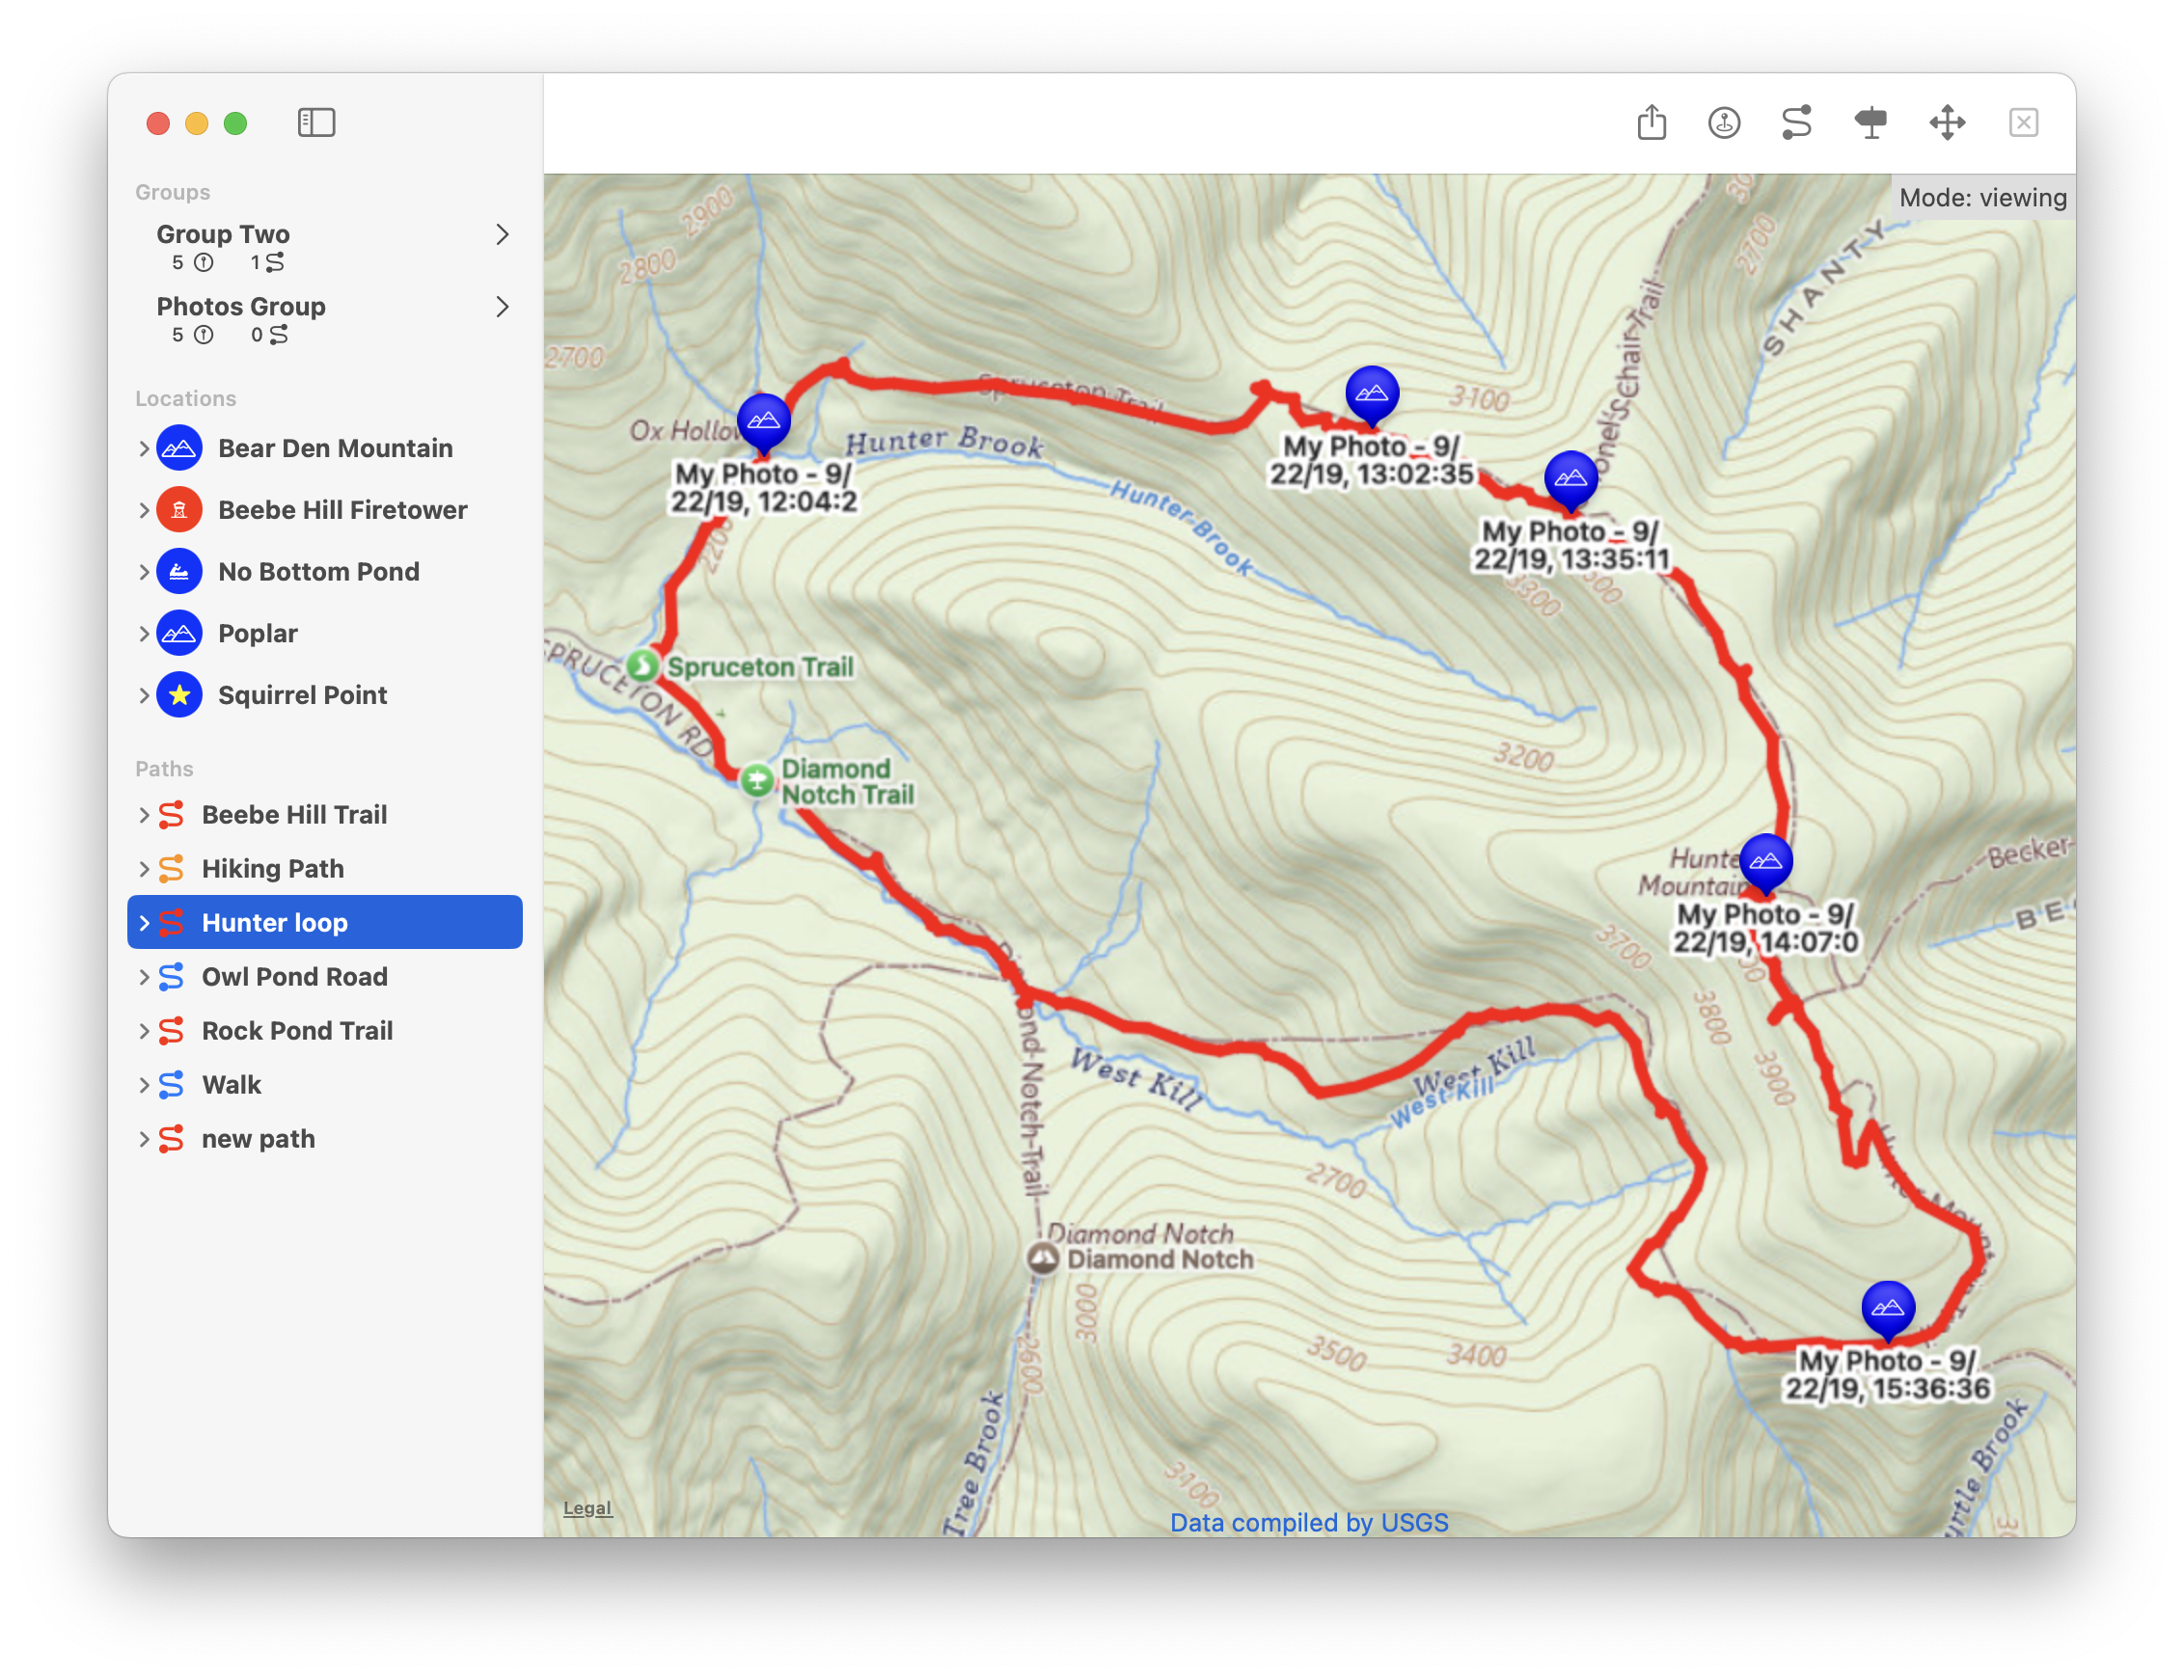
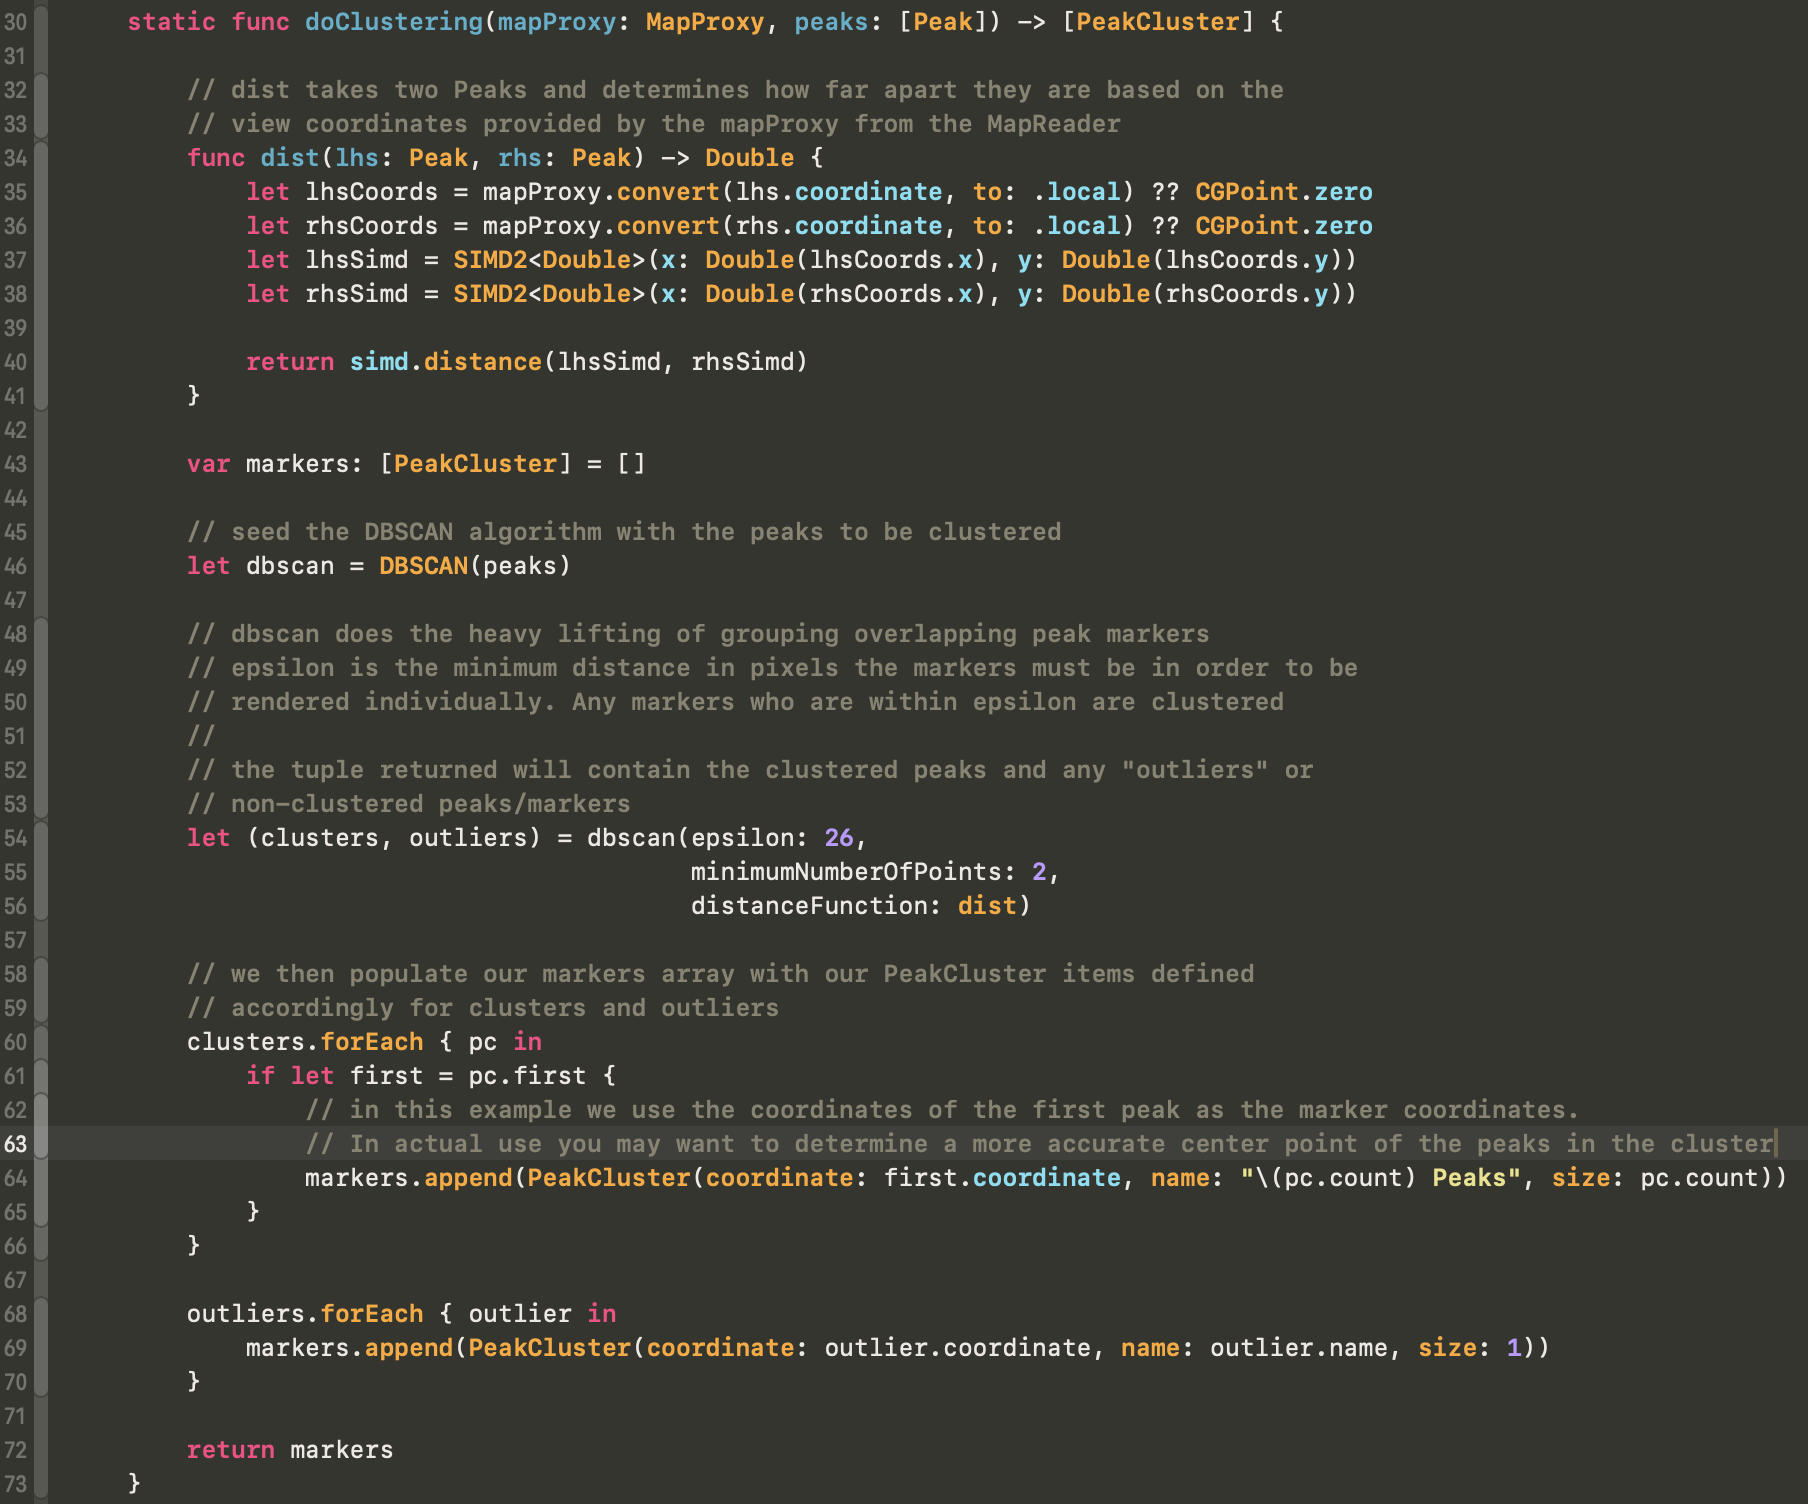
The app is 100% Swift and SwiftUI. The map component is an NSViewRepresentable because as with so much of SwiftUI the SwiftUI component is a good start but lacks features even after all these years. Using an NSMapView opens up the app to use all the mature mapping features of the old AppKit tools. Of course that creates the hassle of interfacing with any ViewRepresentable. How do we cause the old AppKit view to redraw when needed? Perhaps more importantly, how do we prevent the MapView from rendering so often? How do we get information from the map? I spent a lot of time on this and refactored many, many times to get what I think is a pretty lean SPSMapView component (my name for the wrapped MapView)
Like many things it starts simple and builds. In order to render paths being created on the map you need to feed it points to generate on overlay. You need to be able to undo those points if the user made a mistake. When the user is done you need to draw the finished route. This may all work well until you have hundred of overlays to render and SwiftUI can be aggressive when causing redraws. I spent a lot of time profiling views and when they were redrawn. I optimized overlay drawing by not creating my overlays in the map render stage. My route overlays are all stored in a ViewModel (for lack of a better term) this way I can update them only when needed. Then the map can just draw the overlays and not calculate them from a bunch of points. It’s faster. It’s also more work. Its not perfect but it’s the best I can do for right now.
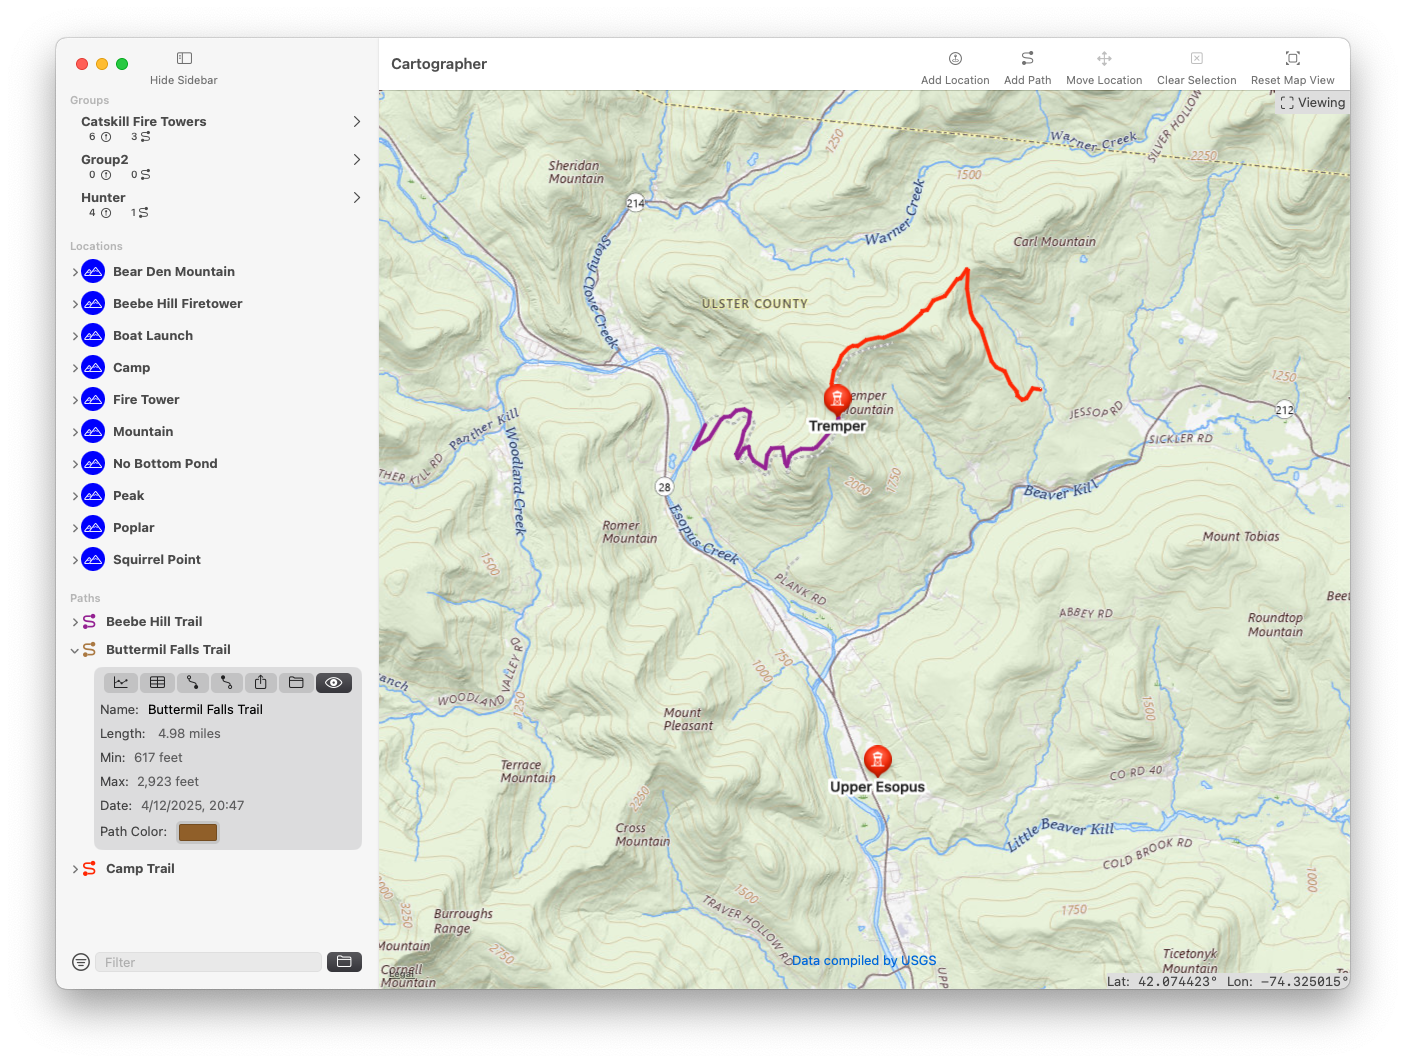
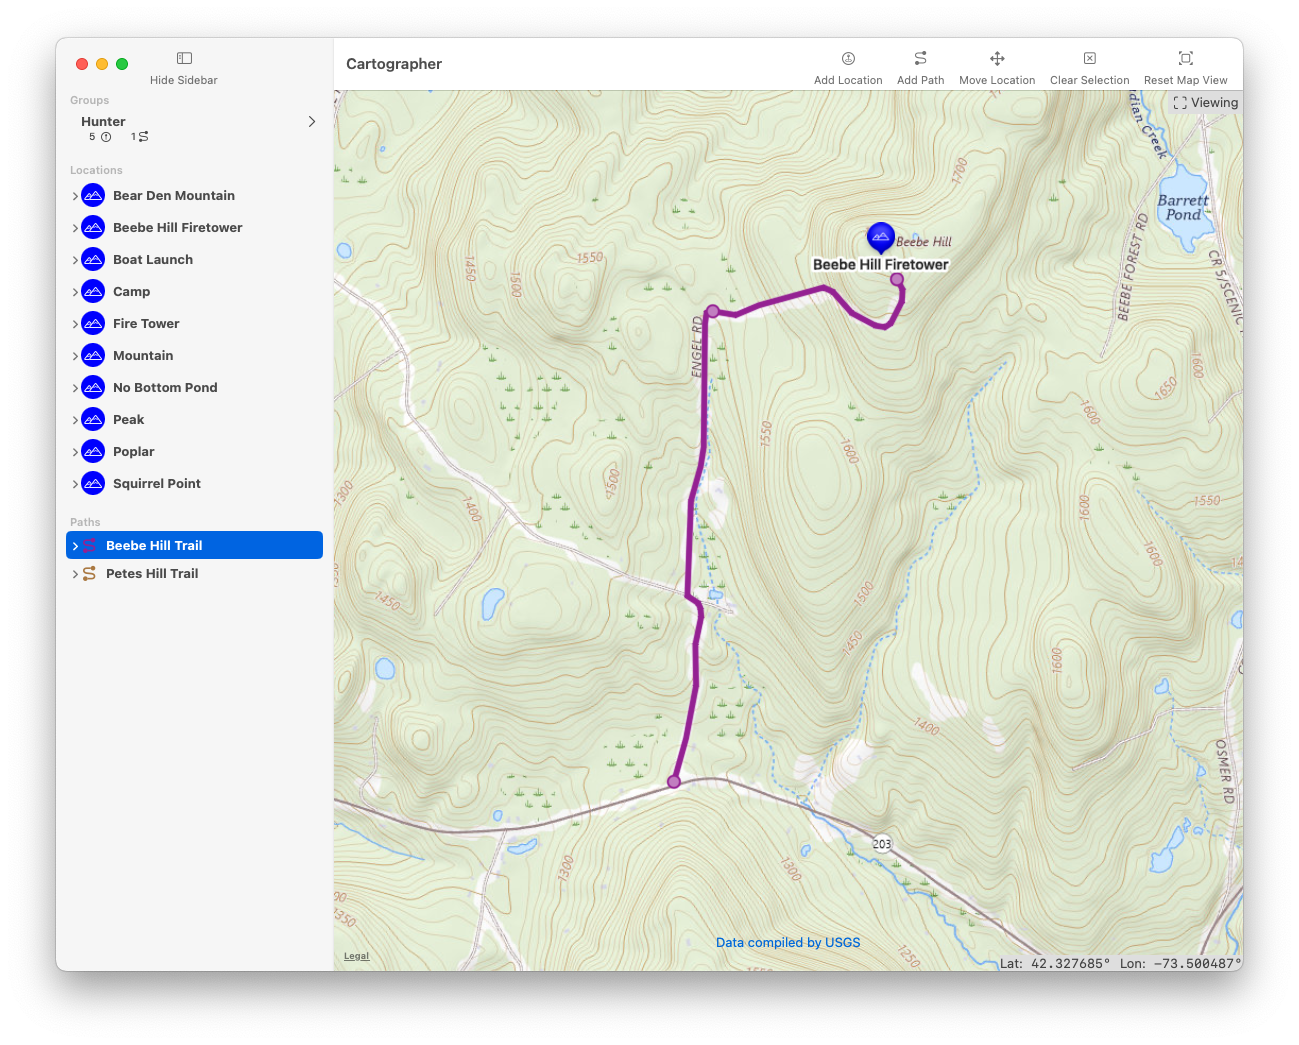
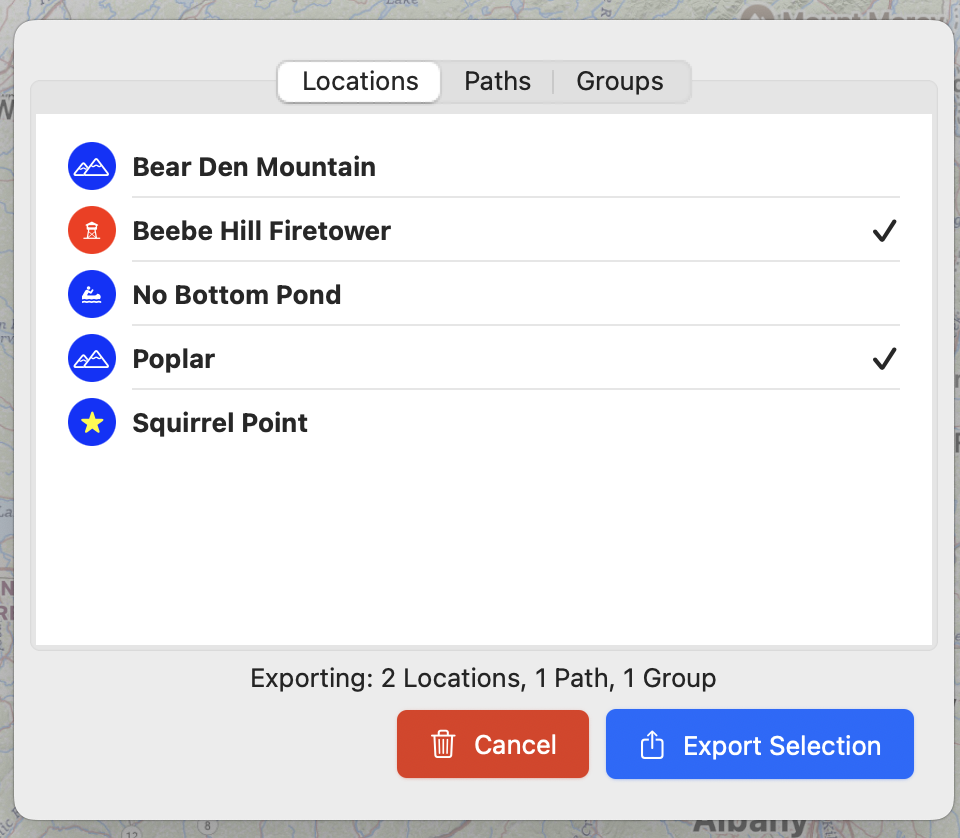
I decided early on that the ability to hide and show items on the map quickly and easily was a prime feature. It’s cool to have a map with thousands of waypoints and a spiderweb of routes but actually reading that map can be cumbersome and more importantly slow to render. A lot of time was spent refining the show/hide mechanism to be flexible. I think it was successful. In addition to allowing the user to organize map data into groups, display tools make it easy to quickly show only what you need to plan or review a trip. The added bonus is the map continues to draw quickly when you don’t try to render 10,000 waypoints, though you can if you wish.
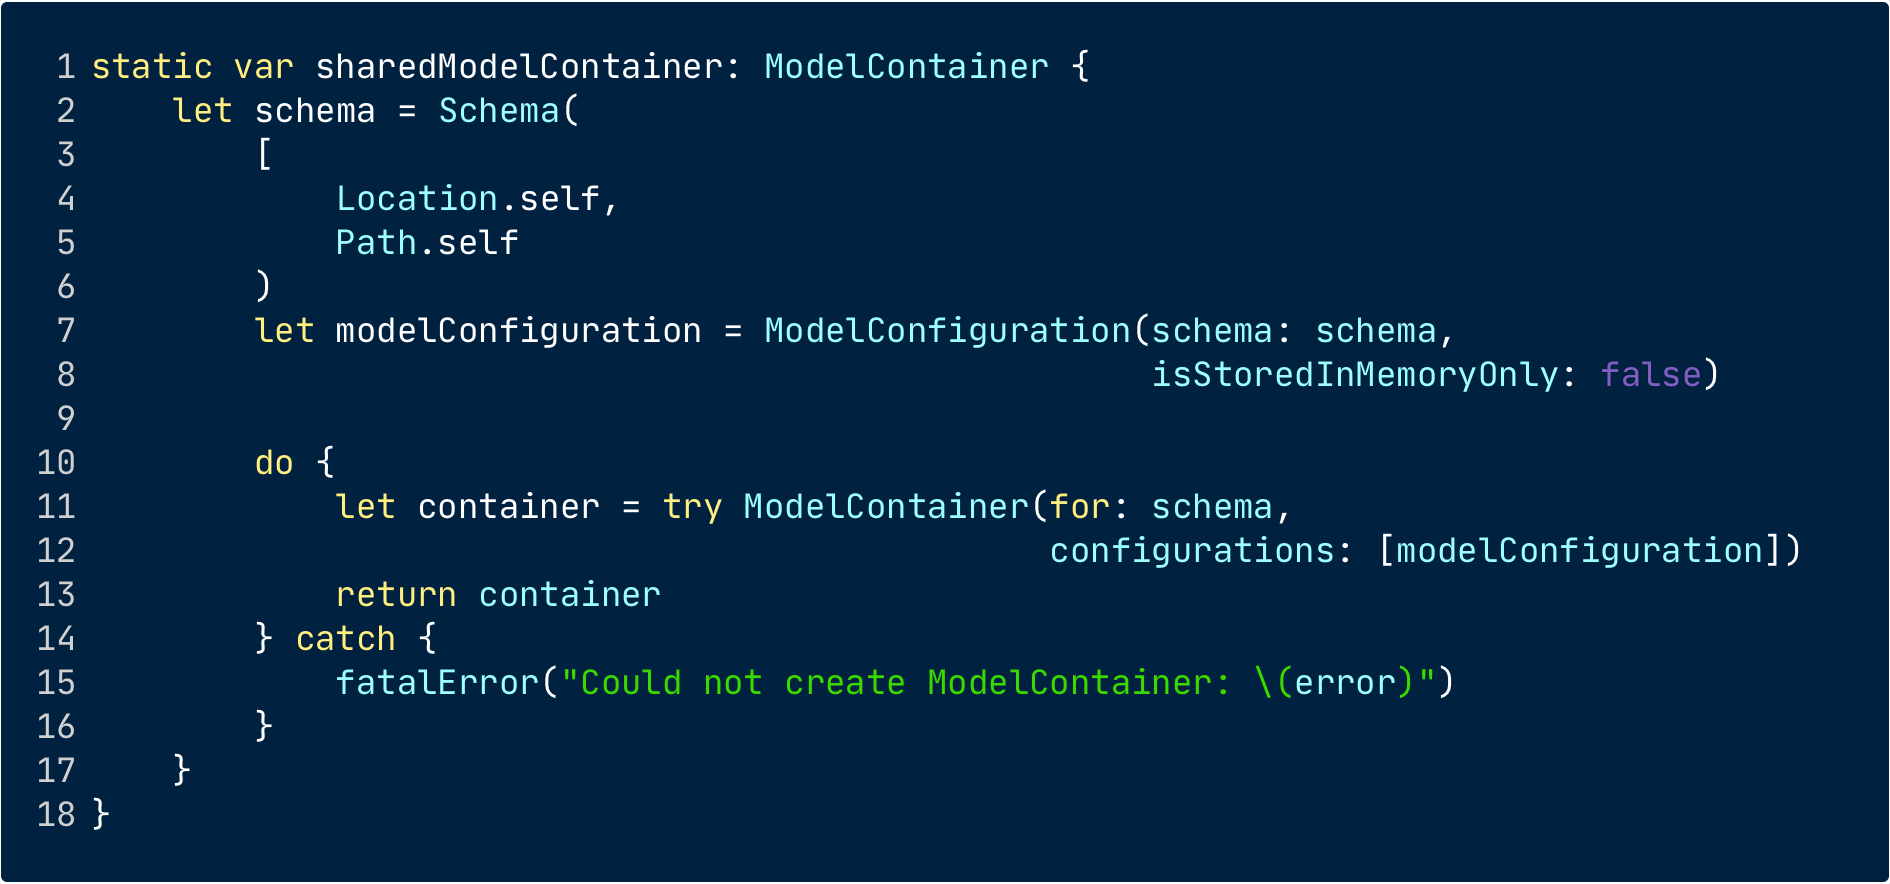
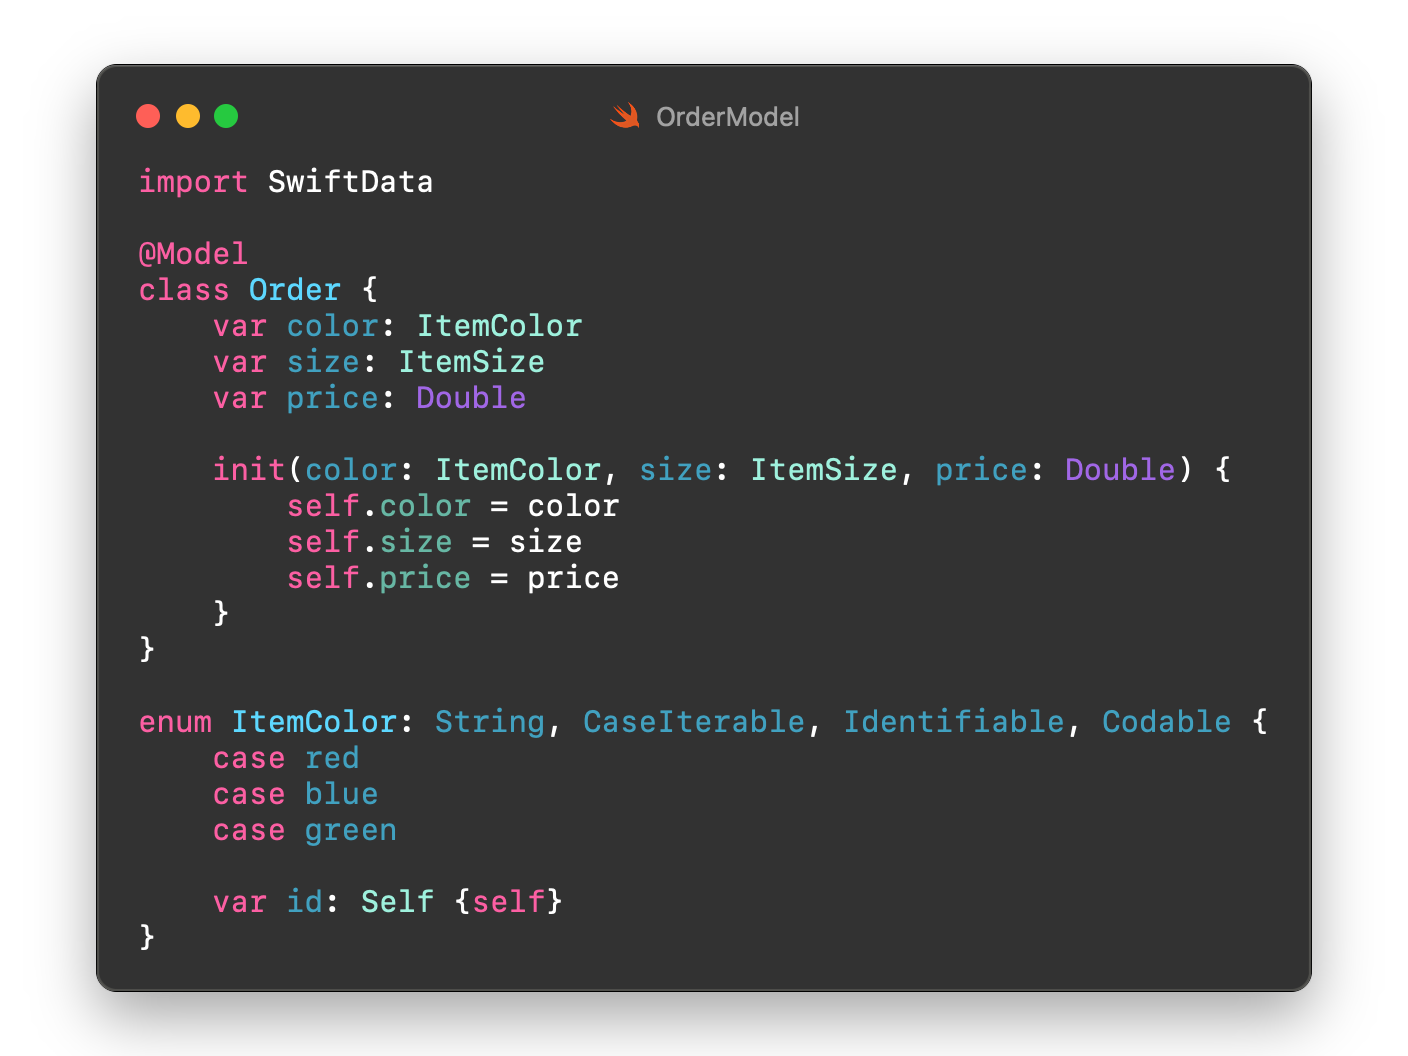
The app uses SwiftData and in general it’s great to use. I’m not currently attempting to sync data between devices so I avoid those issues. I’ve dealt with them before and most like there will be Cartographer for iPhone at some point and I’ll deal with it.
One non-trivial issue with SwiftData is the data refresh you get for free. In my app when a waypoint or route is selected you can edit properties of those items. You can change the name, color or even move the waypoints of a route to change its path. SwiftData will automatically update your data as you edit. So the app may redraw your content as you change each letter in the name or move each waypoint. Then there is the case of how do you undo any changes the user may have inadvertently made?
This lead to the current user experience where the user must select an edit button to begin making changes. At the point the edit button is pressed a duplicate waypoint or route is created in another ModelContext and that context does not autosave. If the user cancels any edits the data can be discarded. For performance benefits, the views are not updated until the updated data is saved. When I say performance in this case it’s not really a case of the map being slow to redraw. When your data is updating with each letter change in a name edit, the actual editing of that name can feel less than responsive. Disconnecting that data from the drawing cycle is helpful with this. Do I wish I didn’t need this edit mode? Sure but it works and for now is better than the alternative.
I settled on using the MapViews natural ability to drag and drop markers as the way to update locations and waypoints along a route. This creates another level of issues with rendering the route and undoing any changes. As I said my route overlays are in a ViewModel and they are manually created, deleted and updated by me. I don’t want to do that when a user is dragging waypoints in order to update a path. Draggable markers works well enough with their own quirks that the framework brings. It can be picky when selecting a marker to drag and it’s a two step process, select the marker then drag it. Suffice to say a lot of work went into this drag and drop path editing. It was difficult but it seems to work for now.
I alluded to my aversion to using other peoples code. Call me crazy but I wrote my own XML parsing routines in order to import GPX file data. I resisted any temptation to make this a full featured XML parser so it only does what’s needed to read GPX data. It works. This is probably me taking this “every single line of code” thing a bit too far. Most XML parsers available are pretty mature and unlikely to break anytime soon. Still I did it. No regrets.
In summary, Swift is great. I think the past few years it’s been co-opted by the academics adding features almost no one will actually need or use but I just ignore that and work with what has mostly worked since day one. Swift is great.
SwiftUI is great too if you stay within the boundaries it creates. Complex custom UIs are not SwiftUI’s forte. Stick to a simple native appearance, limit your app to a recent OS version and SwiftUI works well. When it doesn’t drop down to AppKit. I only did this for the MapView. If you can’t find a simple way to fix some issue you're having with SwiftUI it’s probably best to reverse course and try another approach. Don’t fight it. You will lose and be frustrated. Know the limits of SwiftUI and stick to them.
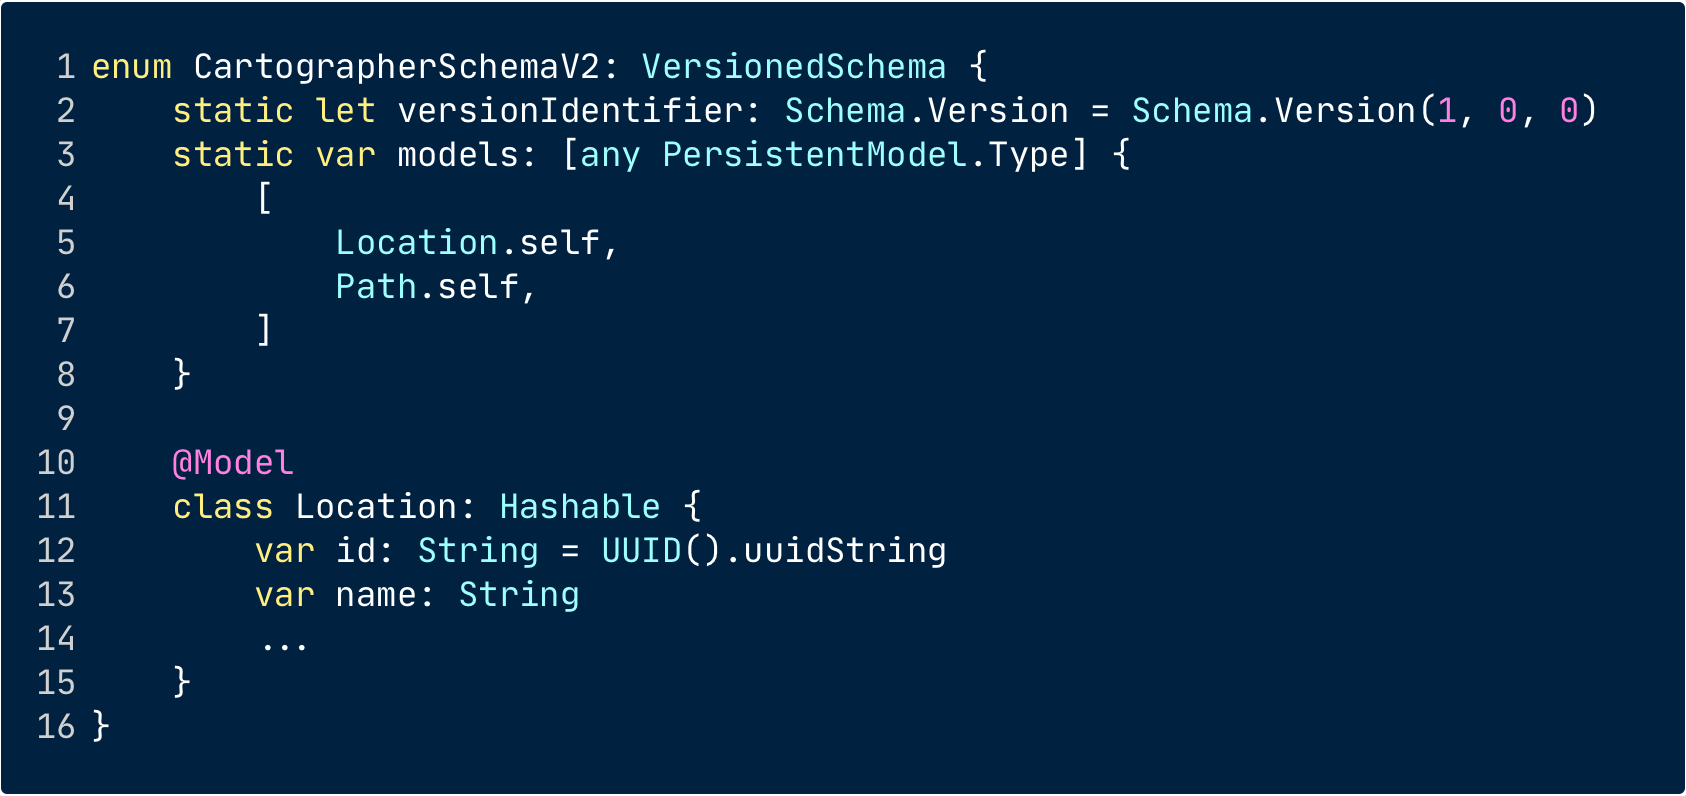
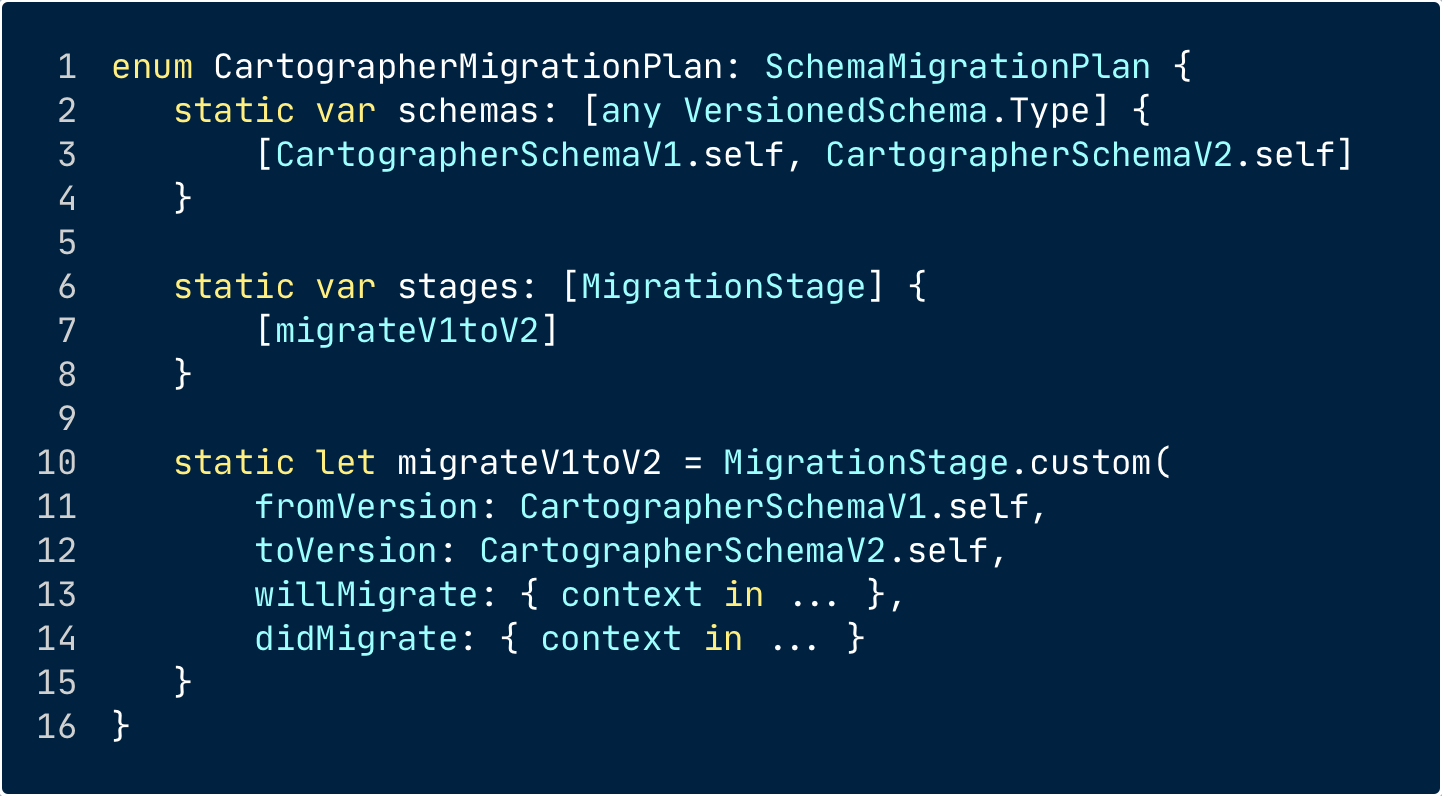
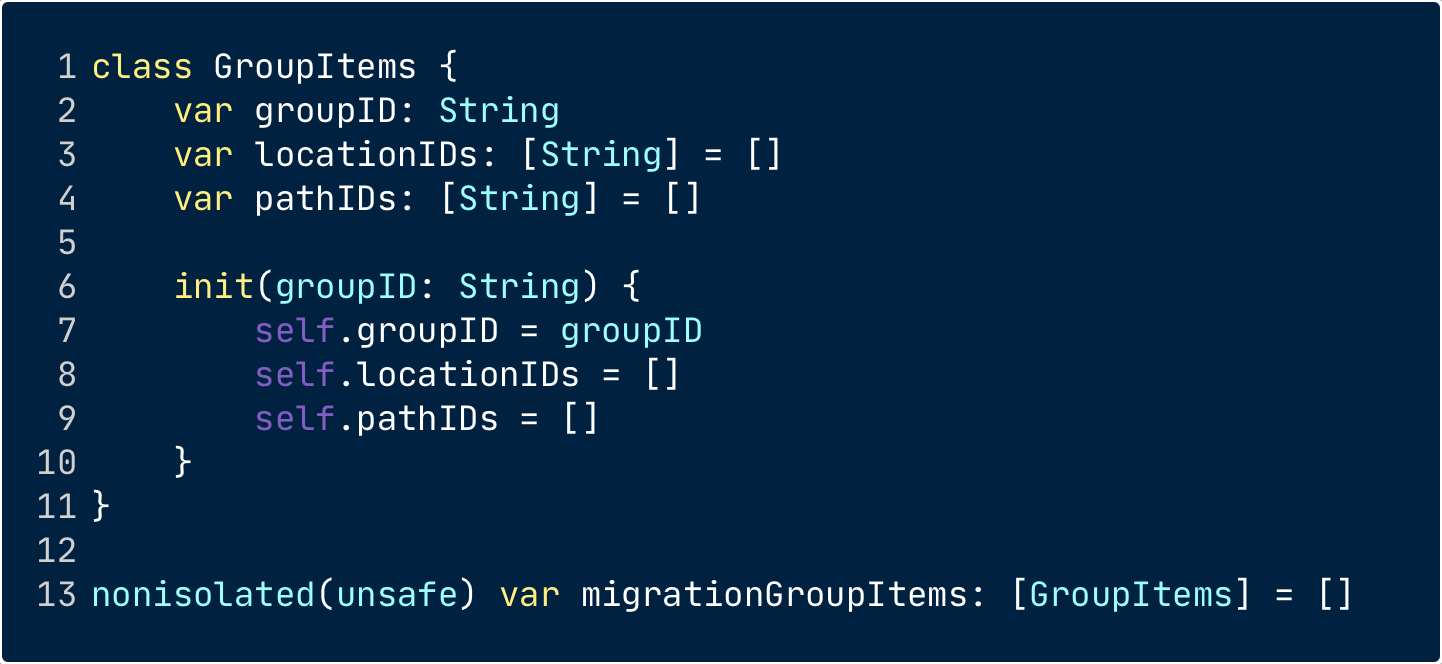
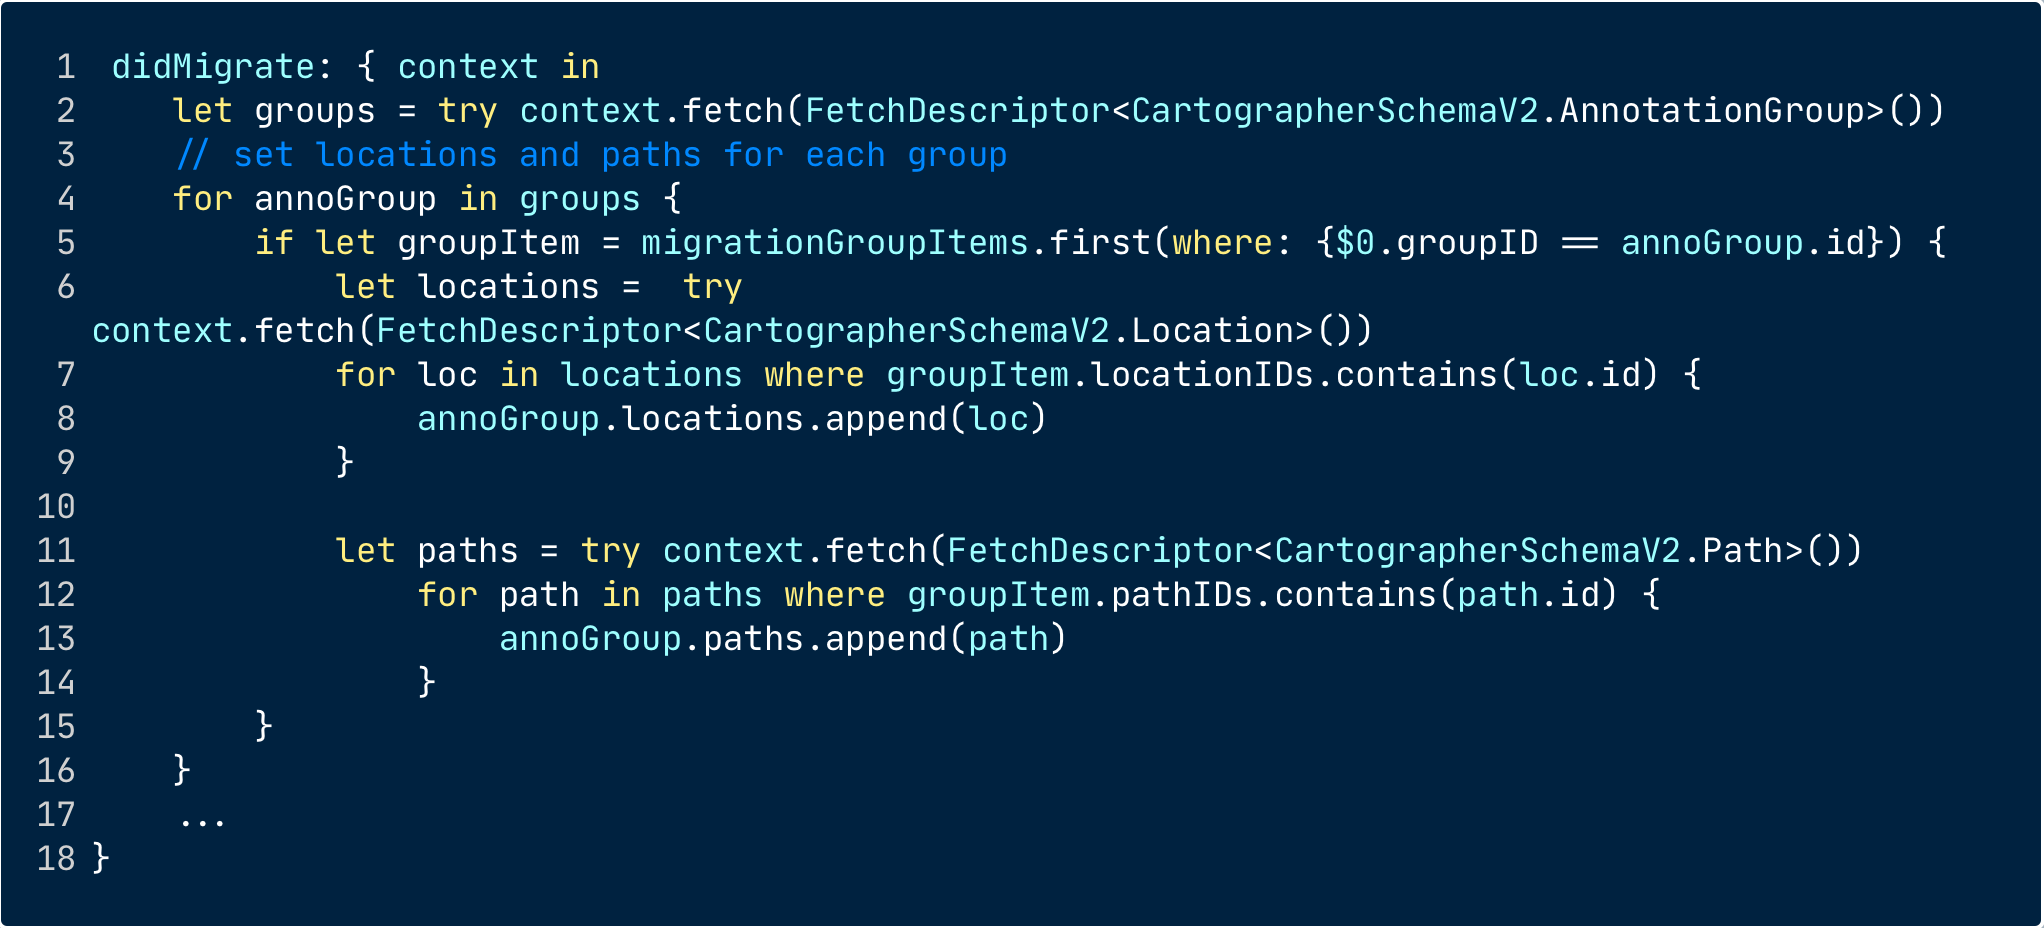
SwiftData is great too. When used in a relatively simple manner SwiftData works fine. I only have four Model types. I don’t use CloudKit syncing (yet) I do have relationships between models. I did create a schema that went thru three versions and the migrations, while verbose, worked fine. I’m confident I can continue to iterate on the schema.
TestFlight
Early in the development process I used TestFlight to get others involved in using the app. I was using it day to day already, adding features I wanted as I went. I know we as developers have blinders and will miss things. I wanted to see if my GPX parsing worked beyond my testing.
I did not get hundreds of testers. I don’t have a podcast or blog that is mentioned in every Apple newsletter. I’m just a hiker and cyclist who happens to have the tools to build what I have wanted for years. I did get around 50-60 people to install the app. Most launched the app. A few gave feedback. Some of the feedback was very detailed. Some was just “this doesn’t work” All of it was valuable. I may not have addressed all the issues raised particularly when they were UI suggestions or feature wishes. I will most likely revisit that sort of feedback as I continue to improve the app.
I was glad there were no crashes reported during the TestFlight cycles. So even if people only launched the app, poked around a bit and decided they didn’t care or didn’t have time it was helpful.
App Review
Then comes submitting to the App Store for review. The tl;dr on this is it was fair. Does it seem arbitrary or that Apple could just tell you exactly what they want? Yes, it does.
The app had been reviewed at least once for public TestFlight. The rule of thumb is an app will be reviewed once and as long as you don’t change the version number future builds are auto-approved for public testing. This in no way implies a real review will be approved for the Store.
I had three technical issues. Two were legit things I had not seen or thought I had fixed. The review caught them, provided screenshots and I was able to quickly resolve the issues. Helpful. No complaints.
The third issue was a bit of a judgement call. I have a few toggle buttons in my navigation list view that will act as filters, adjusting the display of data. They don’t appear to do anything when there is no data or the data present is not affected by the filter. The reviewer felt this was confusing. I disabled those toggles when the content didn’t fit the settings. Not a big deal. Once you use the app for a few minutes the toggles become useful to you and this non-issue goes away.
Then came the aribitrary and frustrating issues. Most of these would be avoided if my app was free or just a fixed price on the Store. Apple provides very good tools these days for working with StoreKit. You can just create your subscriptions or other In App Purchase items and call a SwiftUI view they provide to quickly generate your in app purchase flow. It works and works very well. They even make testing a breeze now.
I have been doing this long enough to recall creating fifty gmail aliases to generate test Apple accounts to test IAP. Those days are long gone and working with StoreKit2 is nice.
Did I mention I don’t use dependencies? I know a lot of people rely on third party frameworks to deal with purchasing in their app. I’ve heard good things. In this case I just don’t think it’s necessary. StoreKit2 is easy to work with.
So why did I end up with a handful of issues around my purchase flow? The provided store views work fine if you only have subscriptions or consumables. My app has a monthly and annual subscription as well as a lifetime unlock. For that you can’t just use an out of the box store view.
Even on the provided store views the buttons to show links to your EULA and Privacy Policy are provided optionally. This may lead you to assume you don’t need to provide those links. You do. My reviewer flagged this so I had to add links to the EULA/Privacy. Trivial, but it would be nice if it just said somewhere exactly what is required. Apple doesn’t like to do that and I think this is big complaint agains the App Store review process we see over and over.
Your review isn’t over just because they objected to a few things and stopped commenting. After I fixed the first batch of issues I received another rejection because my app doesn’t mention that a subscription is required in its description.
In the App Store, Freemium or Subscription apps will have a button labeled “Get” to download. This may lead a user to believe the app is free. The App Store page for your app will show a list of your In App Purchase items but it may not be clear what is needed to expose what functionality in the app. This one was far more confusing as reported to me but in the end I had to add a sentence to my app’s description noting that the app required a subscription or lifetime unlock.
The confusion comes from Apple not wanting to come out and say just add “blah, blah, blah” they offer that you can just remove the items blocking app use (the subscriptions) or update the meta data. This all seems like it was written by lawyers (it was) and is confusing.
Apple's metadata should just have some mechanism to specify the app is freemium or requires a subscription. They could then display a badge or something on the App Store listing. This would make it clearer and not like the developer is trying to hide something.
This could also be greatly improved if the App Store had upgrade pricing. Most subscription apps exist because developers can’t easily be paid for updated app versions.
Imagine if Apple had an option to display subscription or other unlock options right there in the App Store listing. No one could claim to be tricked if that were the case.
I’m not trying to trick anyone. I decided on a subscription based app to make it worth my time to continue development. I added a lifetime unlock for those who prefer that option. I didn’t want to gatekeep some features (freemium) so I just added what I think is a very generous free trial period users can use the full app and not be billed.
Apple is very good these days at notifying users when a free trial is ending or any other terms are changing. I think this is fair to me and the users. I understand there will be complaints but most of those complaints tend to be philosophical rather than directed at your specific app. Some people want everything free. We had a race to the bottom and now we're there. No one won that race.
Less than a day after initially submitting the app for Store review it was approved. It was rejected three times and I made a few code changes taking me less than ninety minutes in total.
There is always anxiety when submitting for review. At least with the Mac store they can’t prevent you app from releasing at all as they can do in the iOS Store. If there was some serious blocking issue I can just release the app on my own. I still think it’s worth using the App Store. It’s tedious to get listed. They may reject it with the next update but they do provide a lot of value.
Wins/Losses/Draws
Losses:
No real losses. I wish I could release a version 1.0 with every feature I have on my roadmap. I wish the app would become very successful and I could earn a living working on it. I’m going to continue using and improving it so again not a real loss. It would be great if iPad and iPhone versions existed. I’ll probably get there.
Draws:
I wish the performance were better. I still feel like map rendering could be improved. I also feel a lot of that is in the map frameworks and what it’s doing. It’s doing a lot. I did my best for now to make the map draw as fast as I can. Perhaps I can improve it some more later.
I wish I didn’t need to resort to having an edit mode for modifying the data. SwiftUI works great updating simple data in a list but rendering a map with a lot of data is cumbersome in the best scenarios. The edit mode exists to deal with this situation.
Happy that you can edit a route by dragging its waypoints around the map. I think this has limited application and more editing tools are needed but it works. I wish dragging markers worked better in general but that’s in Apple’s frameworks.
In the end any “finished” work tends to be a compromise. You will never ship without some of these draws.
Wins:
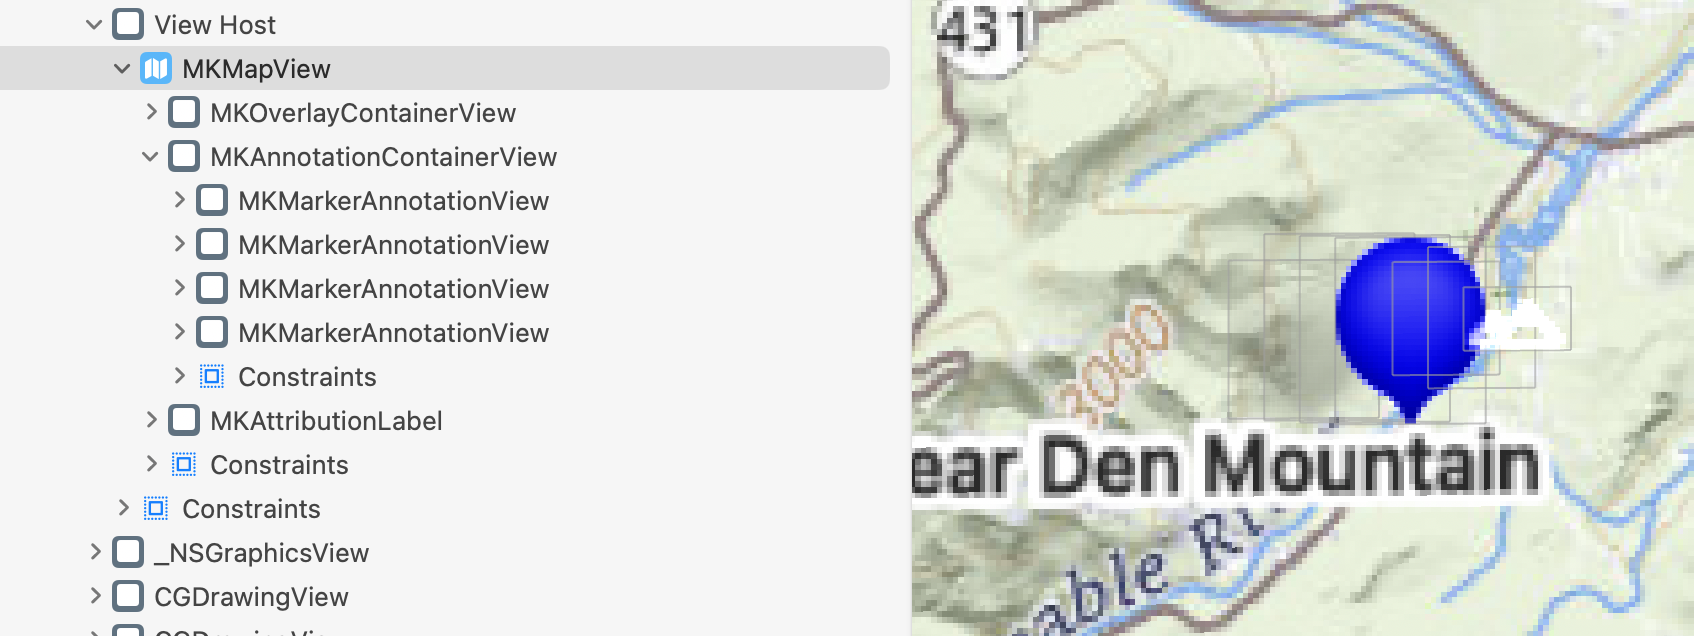
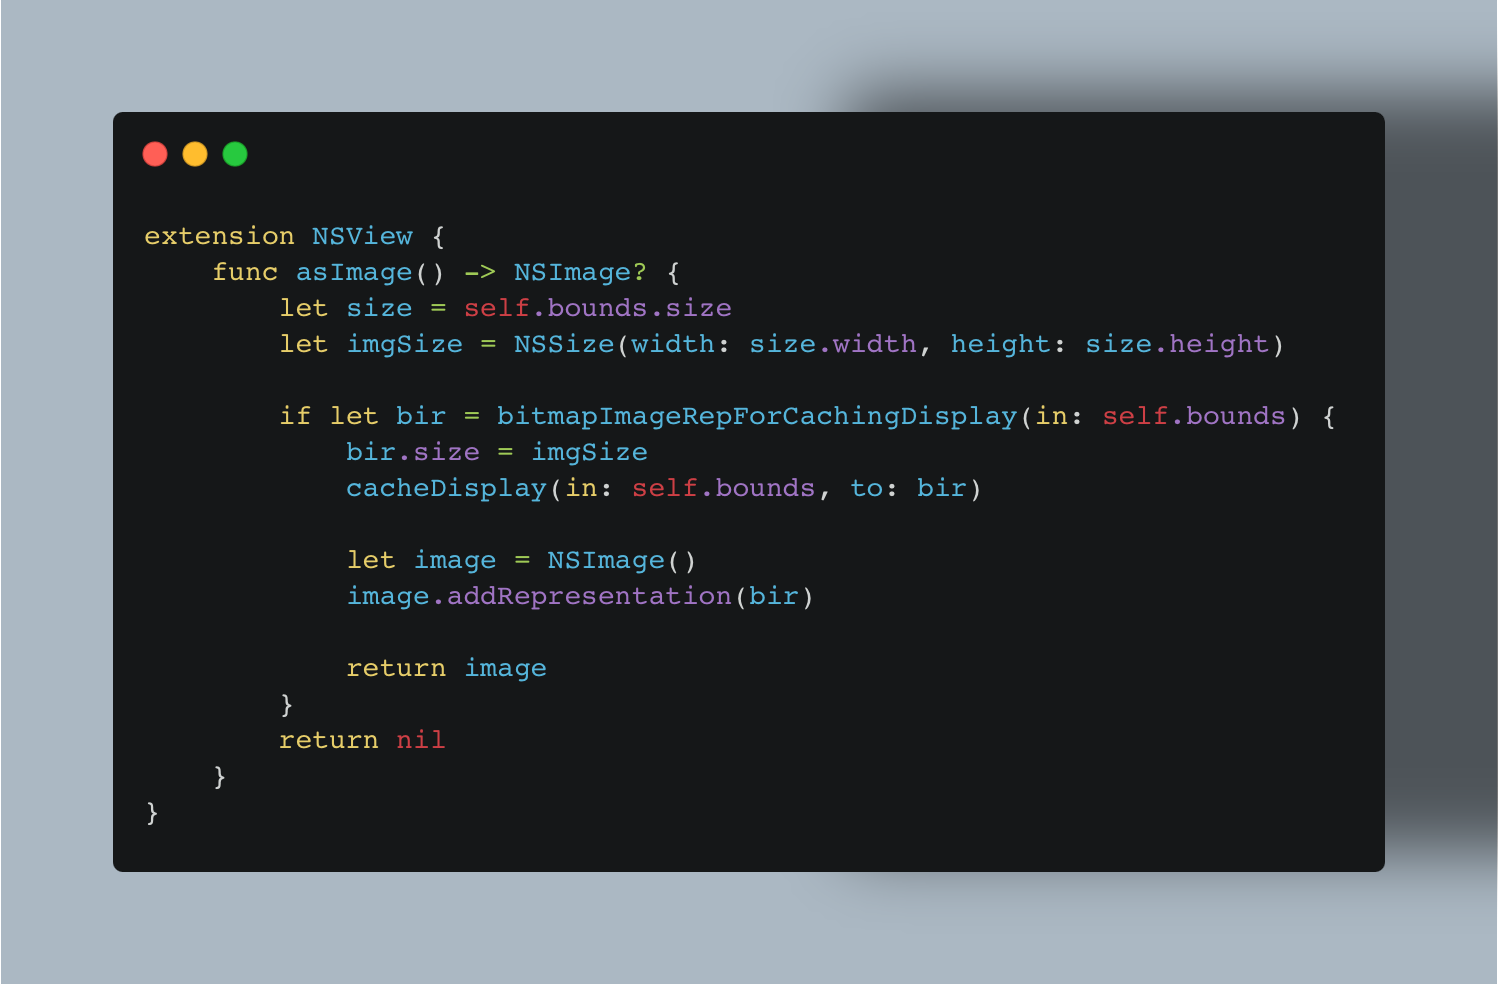
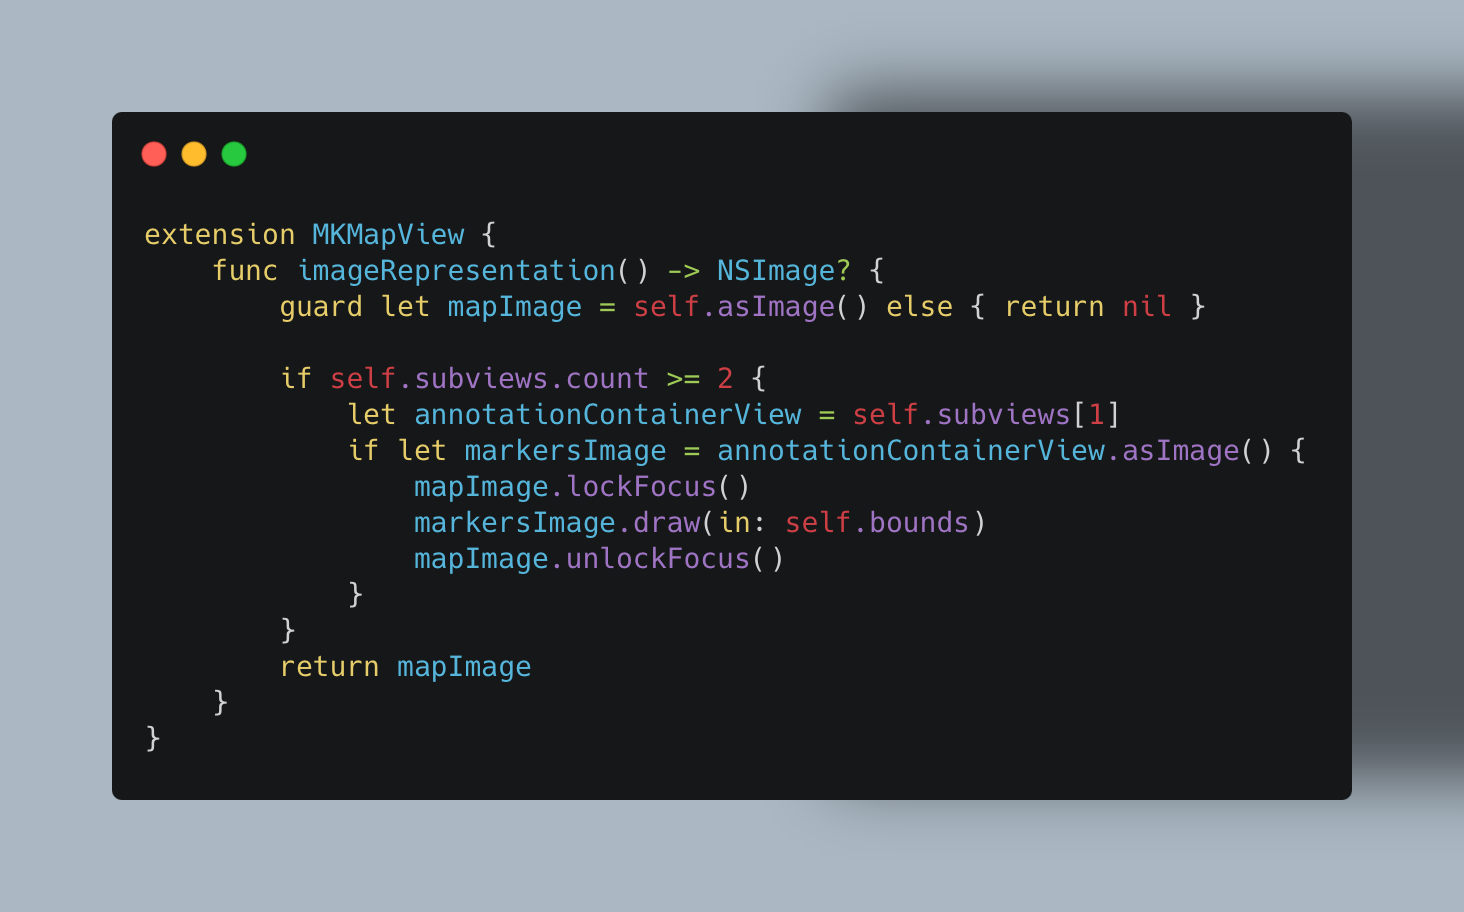
I’m pretty proud of the work I did to get the map printing with your annotations displayed. That required some actual digging and hackery to get working. Printing can improve in the future but even Apple’s Map app won’t print any markers you add.
The route creation tools are powerful. You can quickly go from point to point route creation by clicking on the map but as soon as the routing API (Apples API, not mine) is stumped because you’re off trail, etc you can toggle manual mode and continue to draw your route. I’ve used this for real life mapping and it’s great if I don’t say so myself.
This is a native Mac app. It has a real working menu, keyboard shortcuts, online help, copy and paste. I still love my Mac and cringe when I have to use some web app, in spite of how decent some are becoming. They always show their web bones at some point.
The tipping point to creating this app came when I grew tired of having to reload a certain web app after editing a few dozen waypoints. That app (which shall remain nameless) would grind to a halt after a handful of edits and need to be restarted. Now I have my own app that doesn’t have this problem.
Summing Up/Next Steps
While the App Store Gold Rush Days are long gone it’s still possible for a single indie developer to have an idea, code it up and app and offer it for sale. Along the way they will need to create websites, documentation, graphical assets and probably rewrite most of the code a few times to get there. They will also probably make almost no money and suffer one star reviews and other complaints just for trying to build something.
I wrote Cartographer because I wanted it to exist. I already use it often. I have a roadmap of dozens of things I want to add. I will add some of those and most likely more I haven’t even thought of yet.
If you’ve read any portion of my wall of text, thank you! If you have questions on any part of the process, how or why I did something feel free to reach out. I’m on Mastodon (link below) or drop me an email.
It’s still rewarding to make things. If some people get use out of them that adds to the reward.
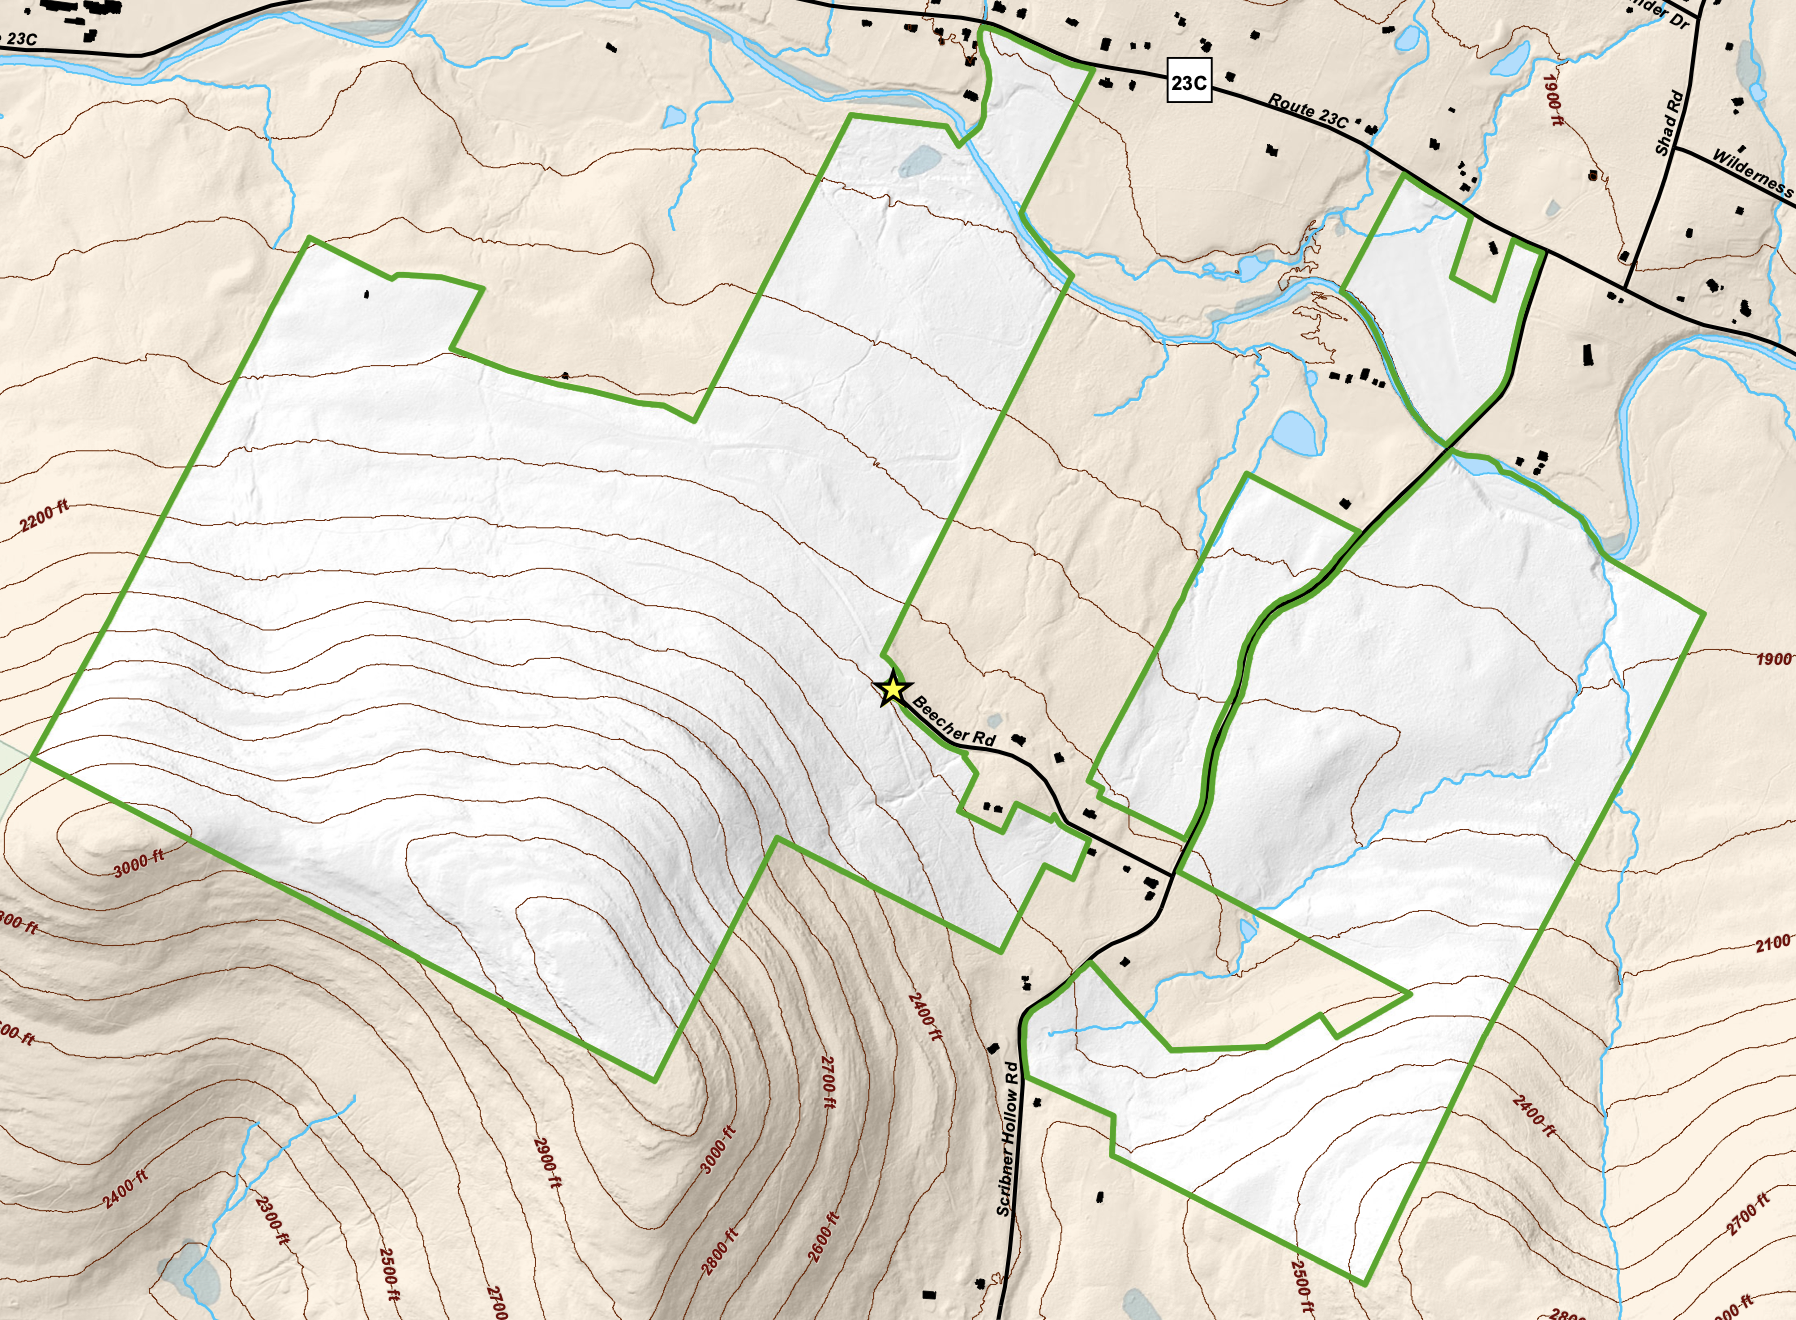


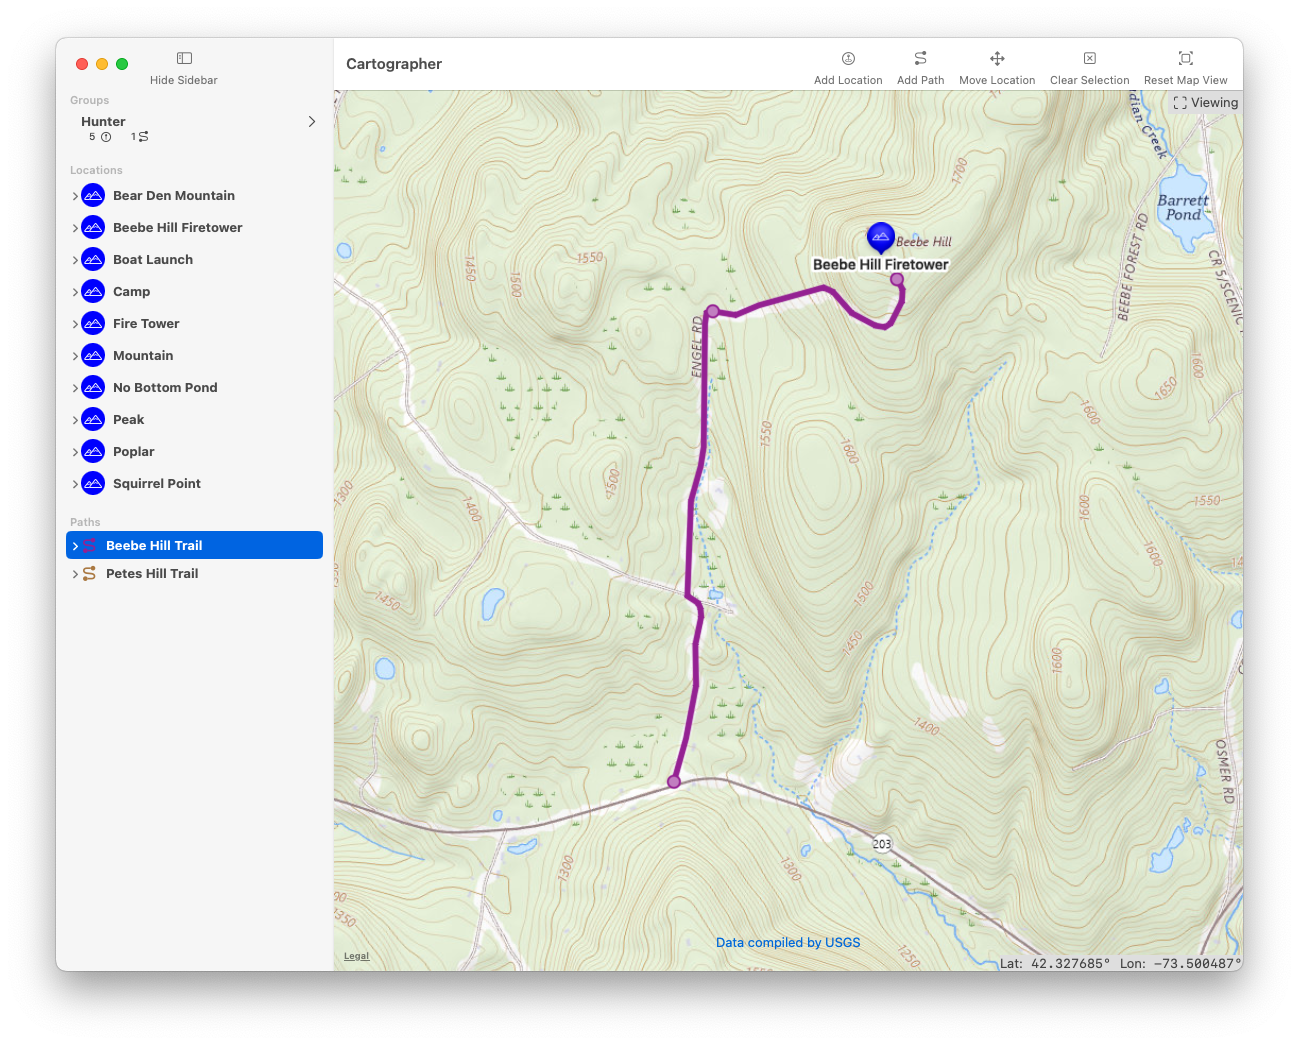
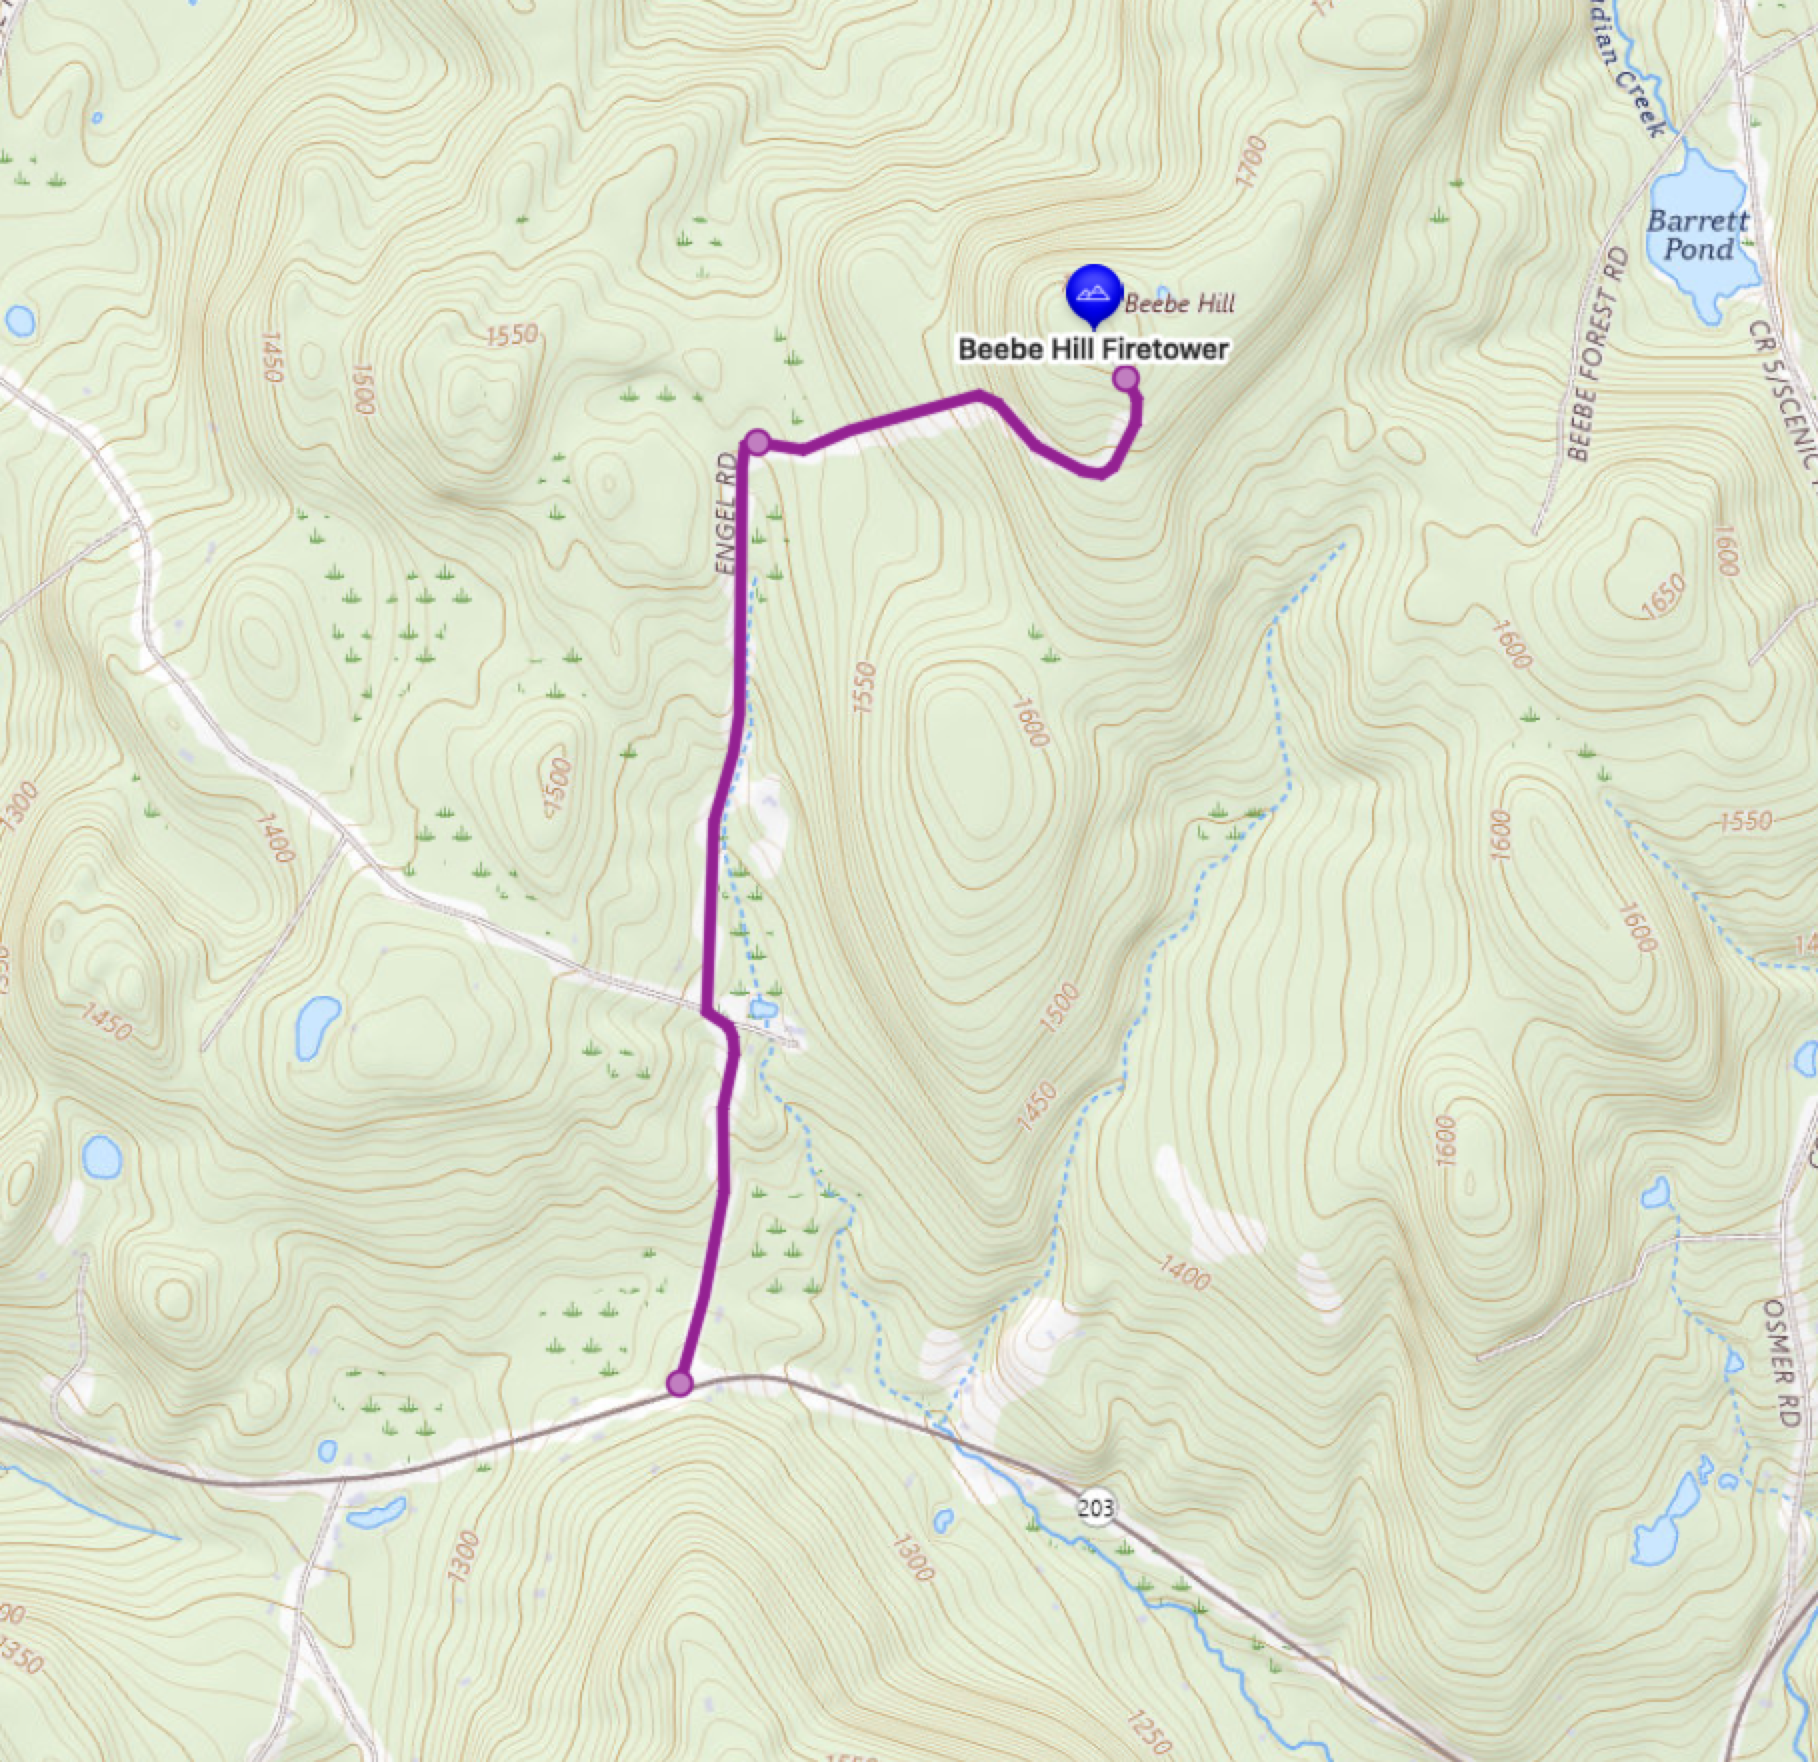
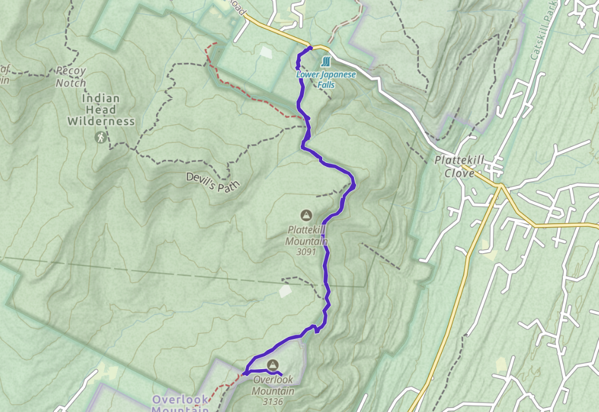
 I spent about three hours walking a bit over 4 miles up and back. The elevation gain was about 1,000 feet. As with any bushwhack you can tackle this hike any way you choose. The woods are never too dense that you can’t just make your own way. The roads will eventually get you to the top if you trust the process of tracing the elevation contours back and forth across the mountain.
